
Revitalizing your home with a fresh coat of paint is an exciting endeavor, often seen as a cost-effective way to enhance your living space’s aesthetic appeal. A successful painting project can breathe new life into a room, transform your home’s ambiance, and even increase property value. However, certain pitfalls can turn this seemingly straightforward task into a daunting, frustrating experience.
Whether you’re a seasoned DIYer or a first-time painter, avoiding these common painting mistakes is crucial for achieving a flawless finish. Let’s delve into the top ten mistakes to avoid and ensure your next painting project is a resounding success.
1. Skipping Prep Work
One of the most critical steps in any painting project is preparation, yet it’s often overlooked in the eagerness to get started. Skipping prep work can lead to a host of problems, from uneven finishes to peeling paint down the road. Before you even think about opening a can of paint, take the time to prepare your space meticulously.
Start by moving or covering furniture and laying down drop cloths to protect your floors. This step may seem tedious, but it will save you from the headache of trying to remove paint splatters from your belongings later on. Next, focus on the walls themselves. Sand any rough spots, fill in cracks, and remove any loose or flaking paint. These imperfections, if left untreated, will stand out even more once the paint is applied, ruining the smooth finish you’re aiming for.
Prep work also involves cleaning the walls, a step we’ll explore further. But in essence, thorough preparation is the foundation of any successful painting project. By dedicating time to this stage, you set yourself up for a flawless finish that will stand the test of time.
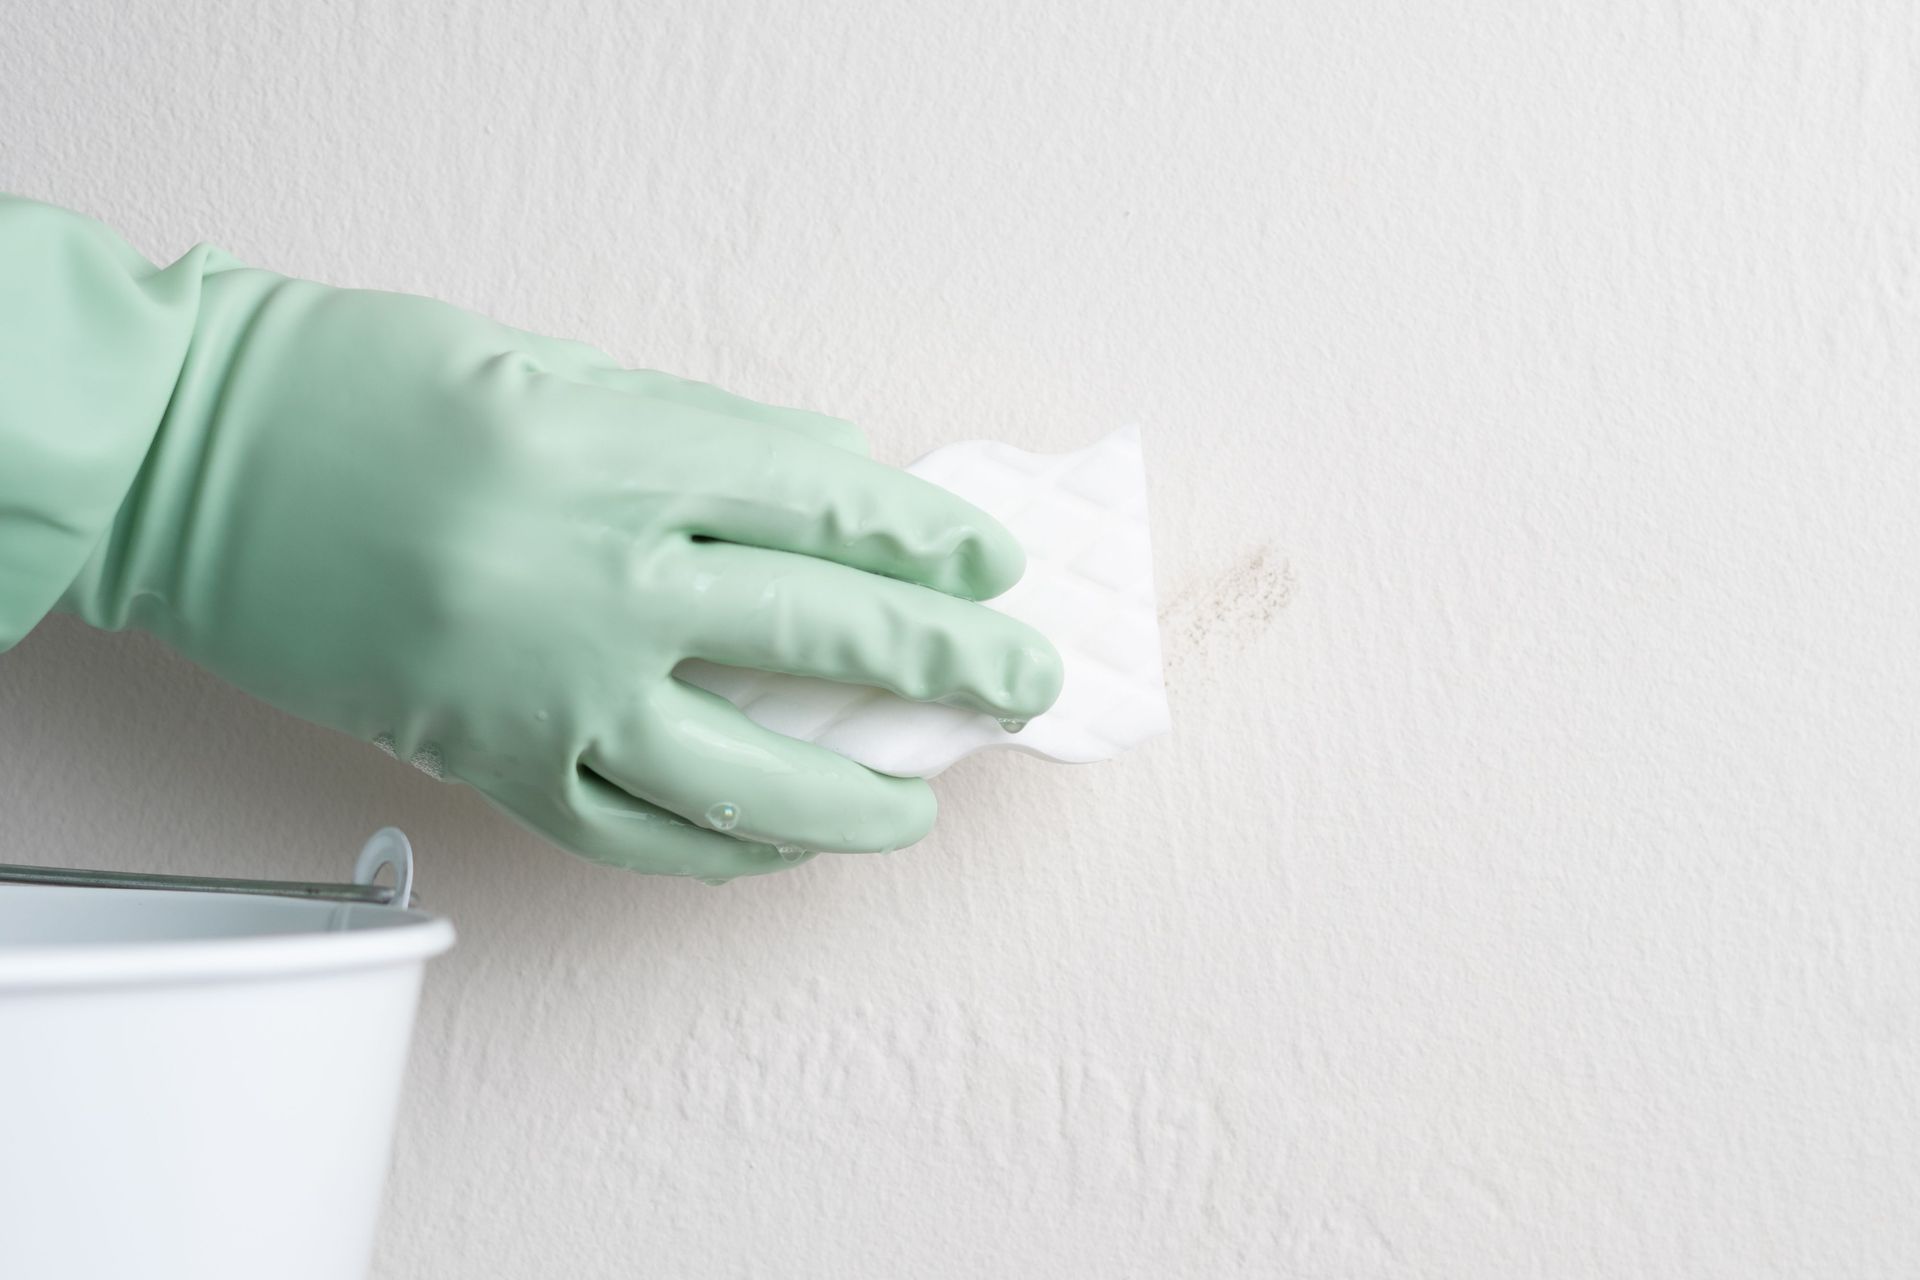
2. Not Cleaning the Walls
It might seem logical to skip cleaning the walls, especially if they don’t appear visibly dirty. However, this is a mistake that can severely impact the quality and longevity of your paint job. Even if your walls look clean, they can accumulate dust, dirt, and grime over time, particularly in kitchens or high-traffic areas.
These contaminants can create a barrier between the wall and the paint, leading to issues like poor adhesion and an uneven finish. Worse still, grease or oil stains can bleed through the paint, resulting in unsightly patches that are difficult to cover up. To avoid these problems, always clean your walls before you start painting. Use a mixture of warm, soapy water and a sponge or cloth to gently scrub the surfaces. For particularly greasy or grimy areas, a stronger cleaning solution may be necessary.
After cleaning, allow the walls to dry completely before you begin painting. This extra step ensures that the paint adheres properly and results in a smooth, professional-looking finish. Remember, the cleaner the surface, the better the final result.
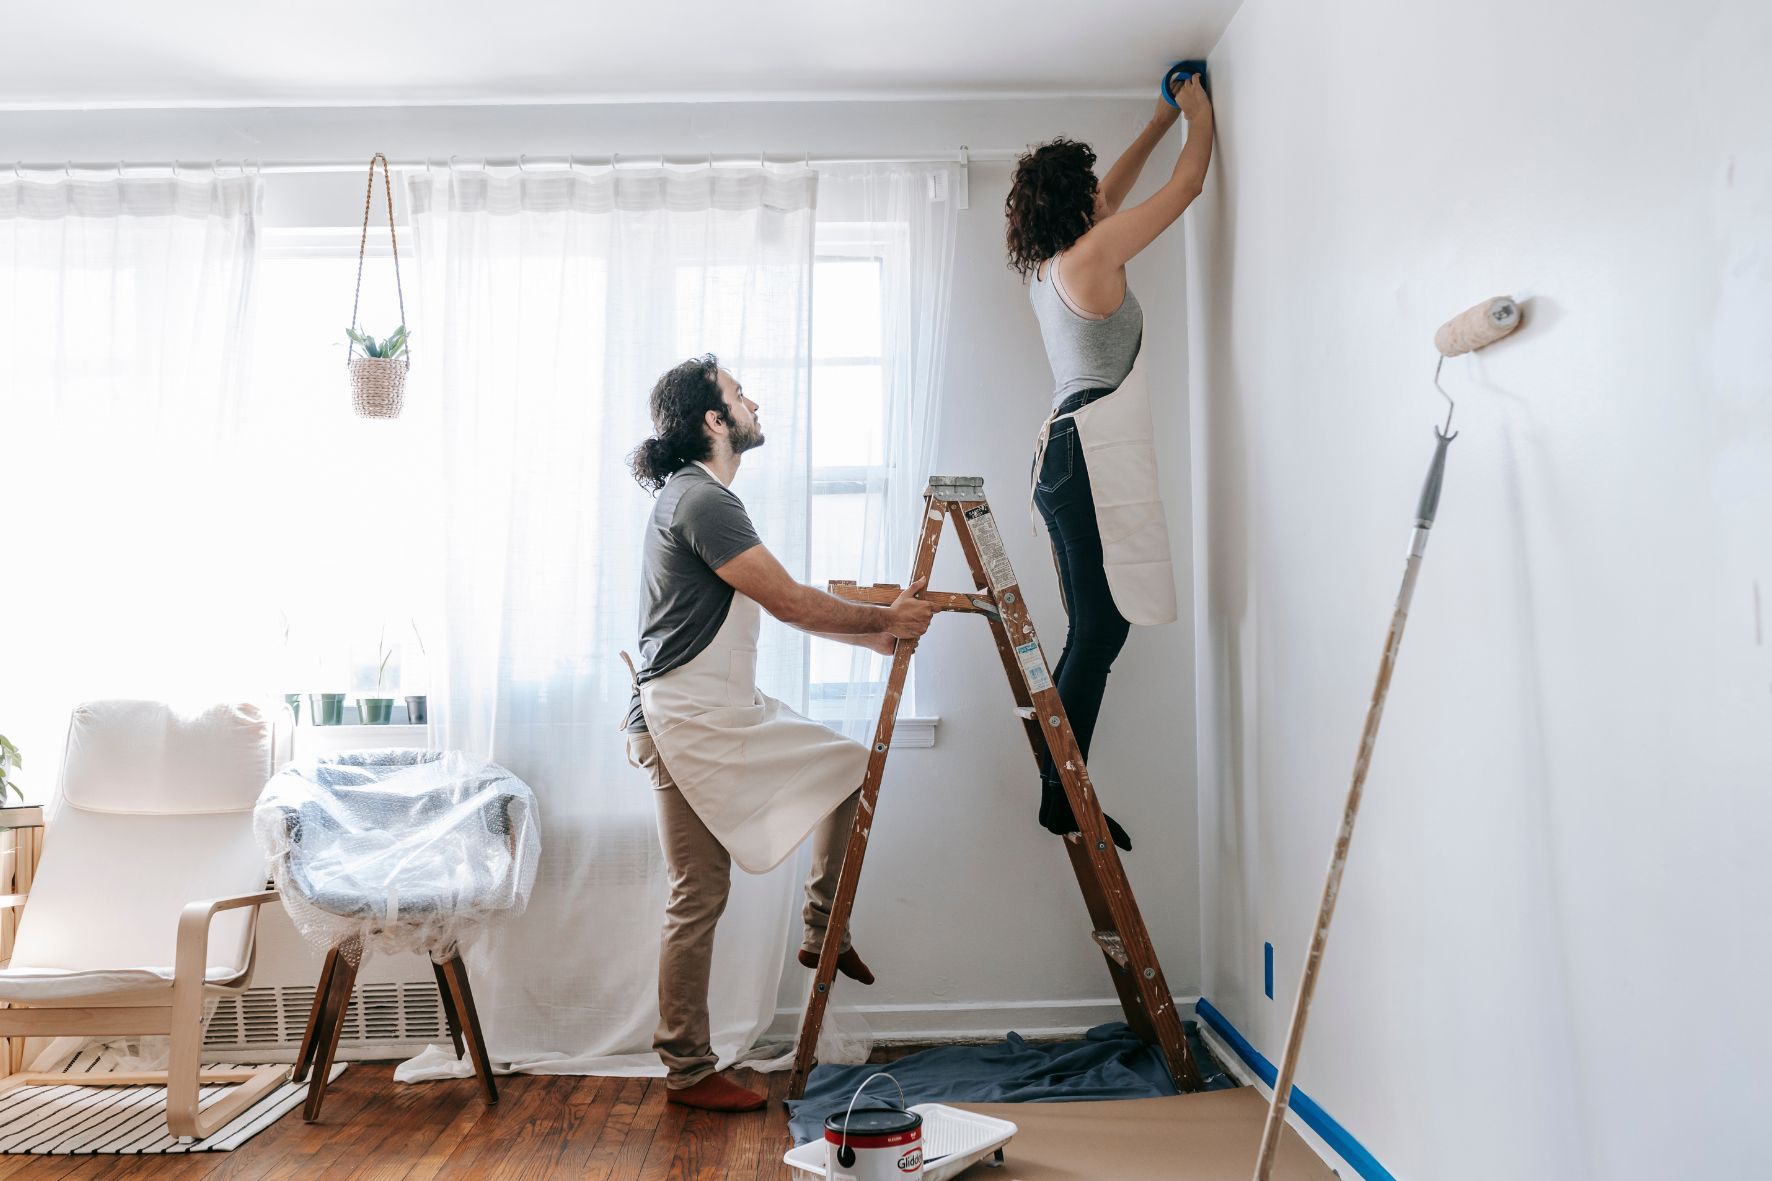
3. Neglecting Painter’s Tape
For both beginners and seasoned professionals, painter’s tape is an invaluable tool. Neglecting to use it is a common mistake that can lead to sloppy, unprofessional results. Painter’s tape is designed to help you achieve clean, straight lines and prevent paint from bleeding onto areas where it doesn’t belong, such as molding, ceilings, or adjacent walls.
Applying tape carefully along the edges where different colors or finishes meet will ensure a crisp, polished outcome. It’s also useful for protecting fixtures, outlets, and any other areas you don’t want to paint.
When applying painter’s tape, make sure to press it down firmly to prevent paint from seeping underneath. After painting, remove the tape while the paint is still wet to avoid peeling off any dried paint along with the tape. This technique will leave you with sharp, professional-looking edges that elevate the overall appearance of your paint job.
4. Picking the Wrong Primer
Primer is often considered the unsung hero of a successful paint job. It serves as the foundation that prepares the surface, ensuring the paint adheres properly and lasts longer. However, picking the wrong primer can lead to a host of issues, from poor adhesion to color inconsistencies. Choosing the right primer is crucial, and it should be selected based on the specific needs of your surface.
Different surfaces have different requirements. For instance, if you’re painting over a surface with stains or smoke damage, you’ll need a stain-blocking primer. If the surface is porous, such as new drywall, a high-build primer that seals and provides a smooth base is necessary. There are also primers designed to address issues like efflorescence (white, powdery residue on masonry surfaces), alkalinity, or high-moisture environments.
Using the wrong primer—or worse, skipping primer altogether—can result in the paint not adhering properly, leading to peeling, cracking, or color inconsistencies. To avoid these issues, consult the primer’s label and choose one that’s appropriate for your specific surface and project needs. This small investment in the right product will pay off in the longevity and appearance of your paint job.
5. Skipping Primer Altogether
Some may be tempted to skip the primer step, especially when faced with the seemingly endless options of paint and primer-in-one products on the market. However, skipping primer can be a costly mistake, particularly when you’re making significant color changes or dealing with challenging surfaces.
Primer serves several critical functions. First, it creates a uniform surface, which is particularly important if you’re covering dark colors with a lighter shade. Without primer, you might find that it takes multiple coats of paint to achieve full coverage, wasting time and money. Primer also helps with adhesion, ensuring that the paint sticks to the surface and doesn’t peel or chip prematurely.
Additionally, primer can help prevent stains or old colors from bleeding through the new paint. This is especially important in older homes where walls may have been painted with oil-based paint or have stains from smoke, water damage, or other contaminants.
In summary, while it might seem like an unnecessary step, using primer is essential for achieving a professional, durable finish. Don’t skip it!
6. Not Buying Enough Paint
One of the most frustrating setbacks in a painting project is running out of paint before the job is complete. This common mistake can not only delay your project but also result in color inconsistencies if you have to buy more paint from a different batch. Proper planning is essential to avoid this pitfall.
Start by accurately measuring the area you intend to paint. This includes not only the walls but also the ceiling, trim, and any other surfaces you’re covering. Online paint calculators can be incredibly helpful for this, allowing you to input dimensions and receive an estimate of the amount of paint you’ll need. Be sure to adjust for factors like the condition and type of substrate, as rough or porous surfaces will require more paint.
It’s also wise to purchase a little extra paint, especially if you’re mixing custom colors. This ensures you have enough for touch-ups or future repairs. While it may seem like a small detail, having enough paint on hand is crucial for a smooth, uninterrupted painting process and a consistent finish.
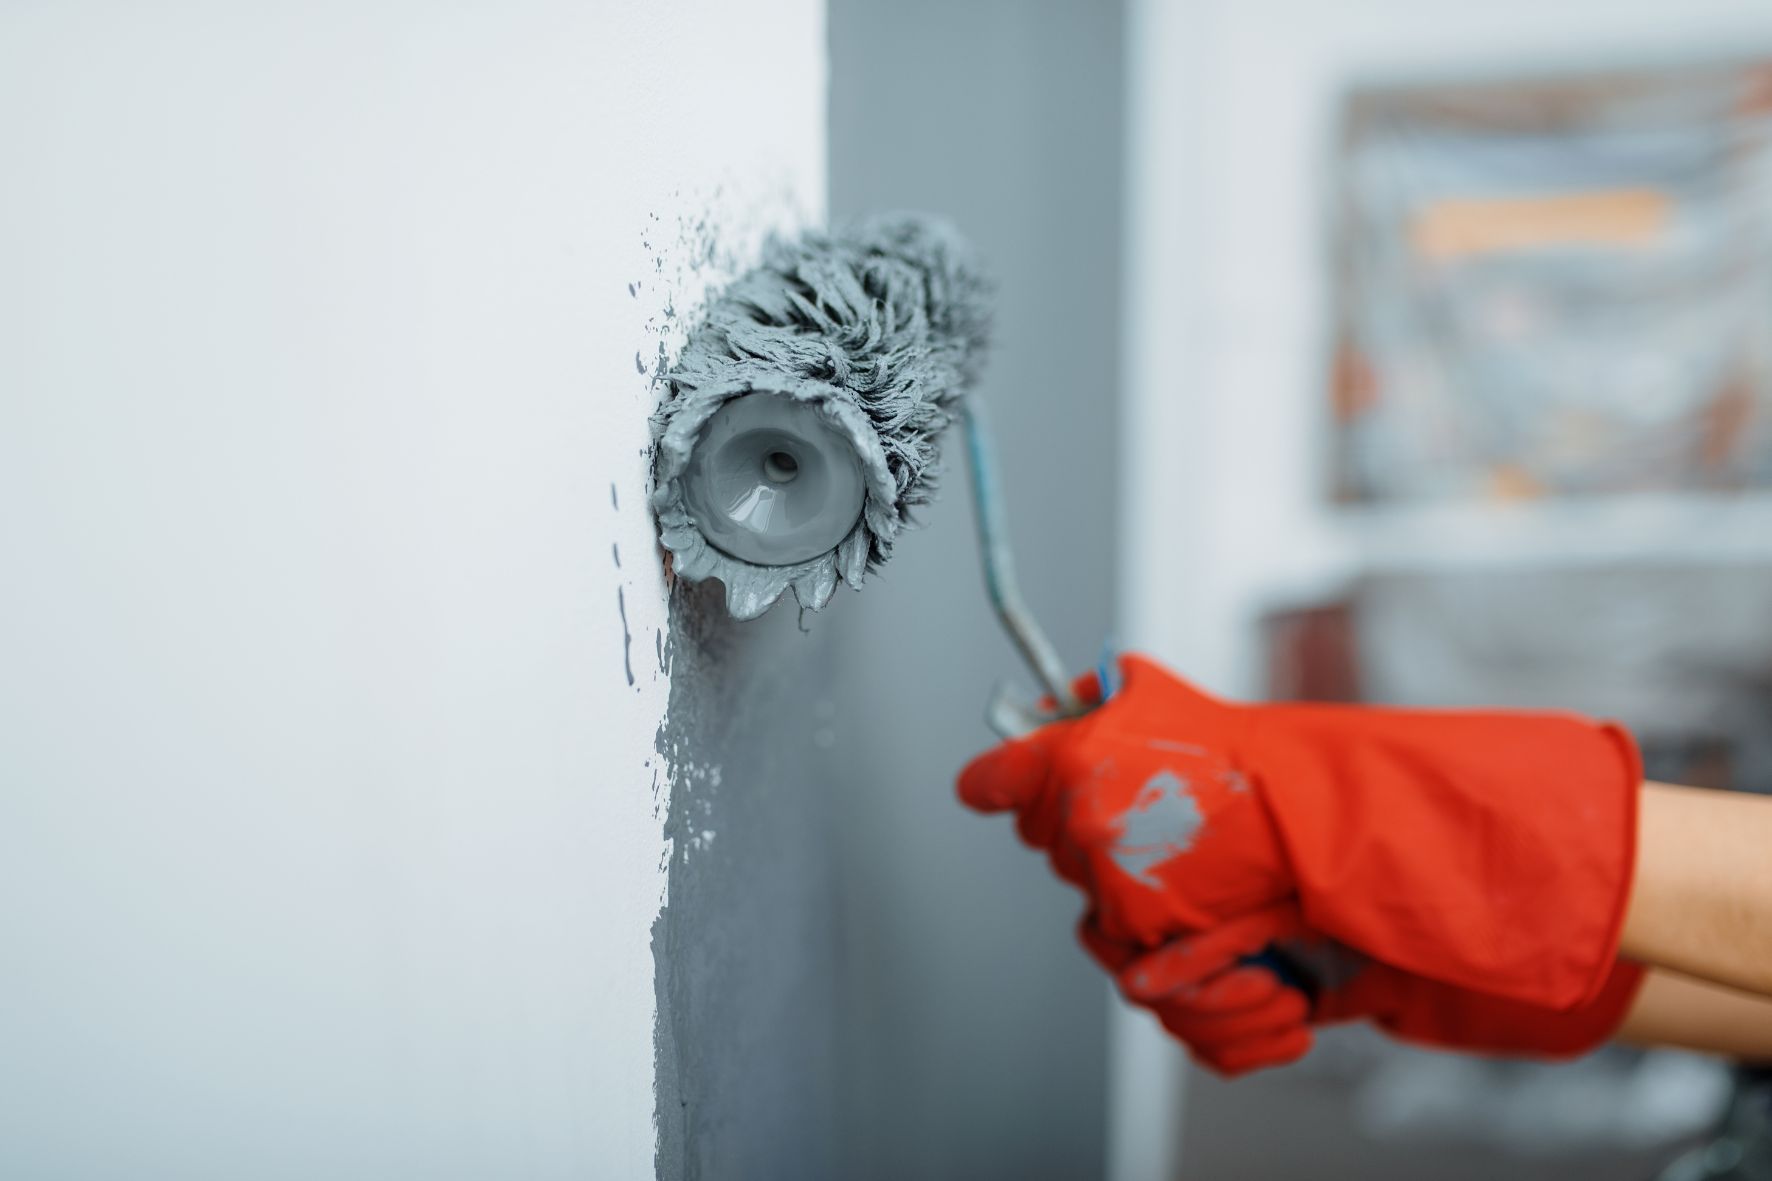
7. Adding a Second Coat Too Soon
Impatience can be the enemy of a flawless paint job. While it might be tempting to add a second coat as soon as the first one appears dry to the touch, doing so too soon can lead to serious problems. Adding a second coat before the first is fully dry can cause the paint to lift, smudge, or develop an uneven texture, all of which will mar the final finish.
Patience is key here. The drying time for paint can vary depending on factors like humidity, temperature, and the type of paint you’re using. Water-based paints typically dry faster than oil-based paints, but both require adequate drying time between coats. As a general rule, you should wait at least two to four hours between coats for water-based paints and 24 hours for oil-based paints.
Check the paint can for specific drying time recommendations, and if you’re unsure, err on the side of caution. Waiting for the first coat to dry completely ensures that the second coat goes on smoothly and adheres properly, resulting in a beautiful, even finish.
8. Choosing the Wrong Type of Paint
Selecting the right type of paint is crucial for the success of your project, yet it’s a mistake that many people make. Not all paints are created equal, and using the wrong type can lead to problems like poor adhesion, a lackluster finish, or even damage to the surface.
Consider both the substrate you’re painting and the intended use of the space when choosing paint. For instance, if you’re painting a bathroom or kitchen, you’ll need a paint that’s resistant to moisture and mildew. For high-traffic areas, a more durable, washable paint is a better choice. Conversely, if you’re painting a ceiling, a flat paint that hides imperfections is ideal.
It’s also important to consider the sheen of the paint. Glossy finishes are more durable and easier to clean, making them ideal for trim and doors, but they can highlight imperfections on walls. Matte finishes, on the other hand, provide a smooth, uniform look but are less washable.
When in doubt, consult the paint can label or ask for advice at your local paint store. Choosing the right paint for your specific needs is essential for achieving a professional-looking finish that stands up to the demands of the space.
9. Choosing the Wrong Paint Brush
The tools you use are just as important as the paint itself, and choosing the wrong paintbrush is a mistake that can lead to an uneven, streaky finish. Not all paintbrushes are created equal, and using the wrong one can result in a frustrating painting experience and a less-than-perfect outcome.
Select a brush based on the type of paint you’re using. For water-based paints, synthetic bristle brushes are ideal, as they maintain their shape and flexibility when exposed to water. Natural bristle brushes, on the other hand, are best suited for oil-based paints, as they provide a smooth, even application.
Brush size is also important. A small, angled brush is perfect for cutting in around edges and corners, while a larger, flat brush is ideal for painting broad, flat surfaces. Be sure to choose a brush that feels comfortable in your hand and provides good control.
Using the right brush not only makes the painting process easier but also results in a smoother, more professional finish. Don’t skimp on quality when it comes to your tools—investing in a good brush can make all the difference.
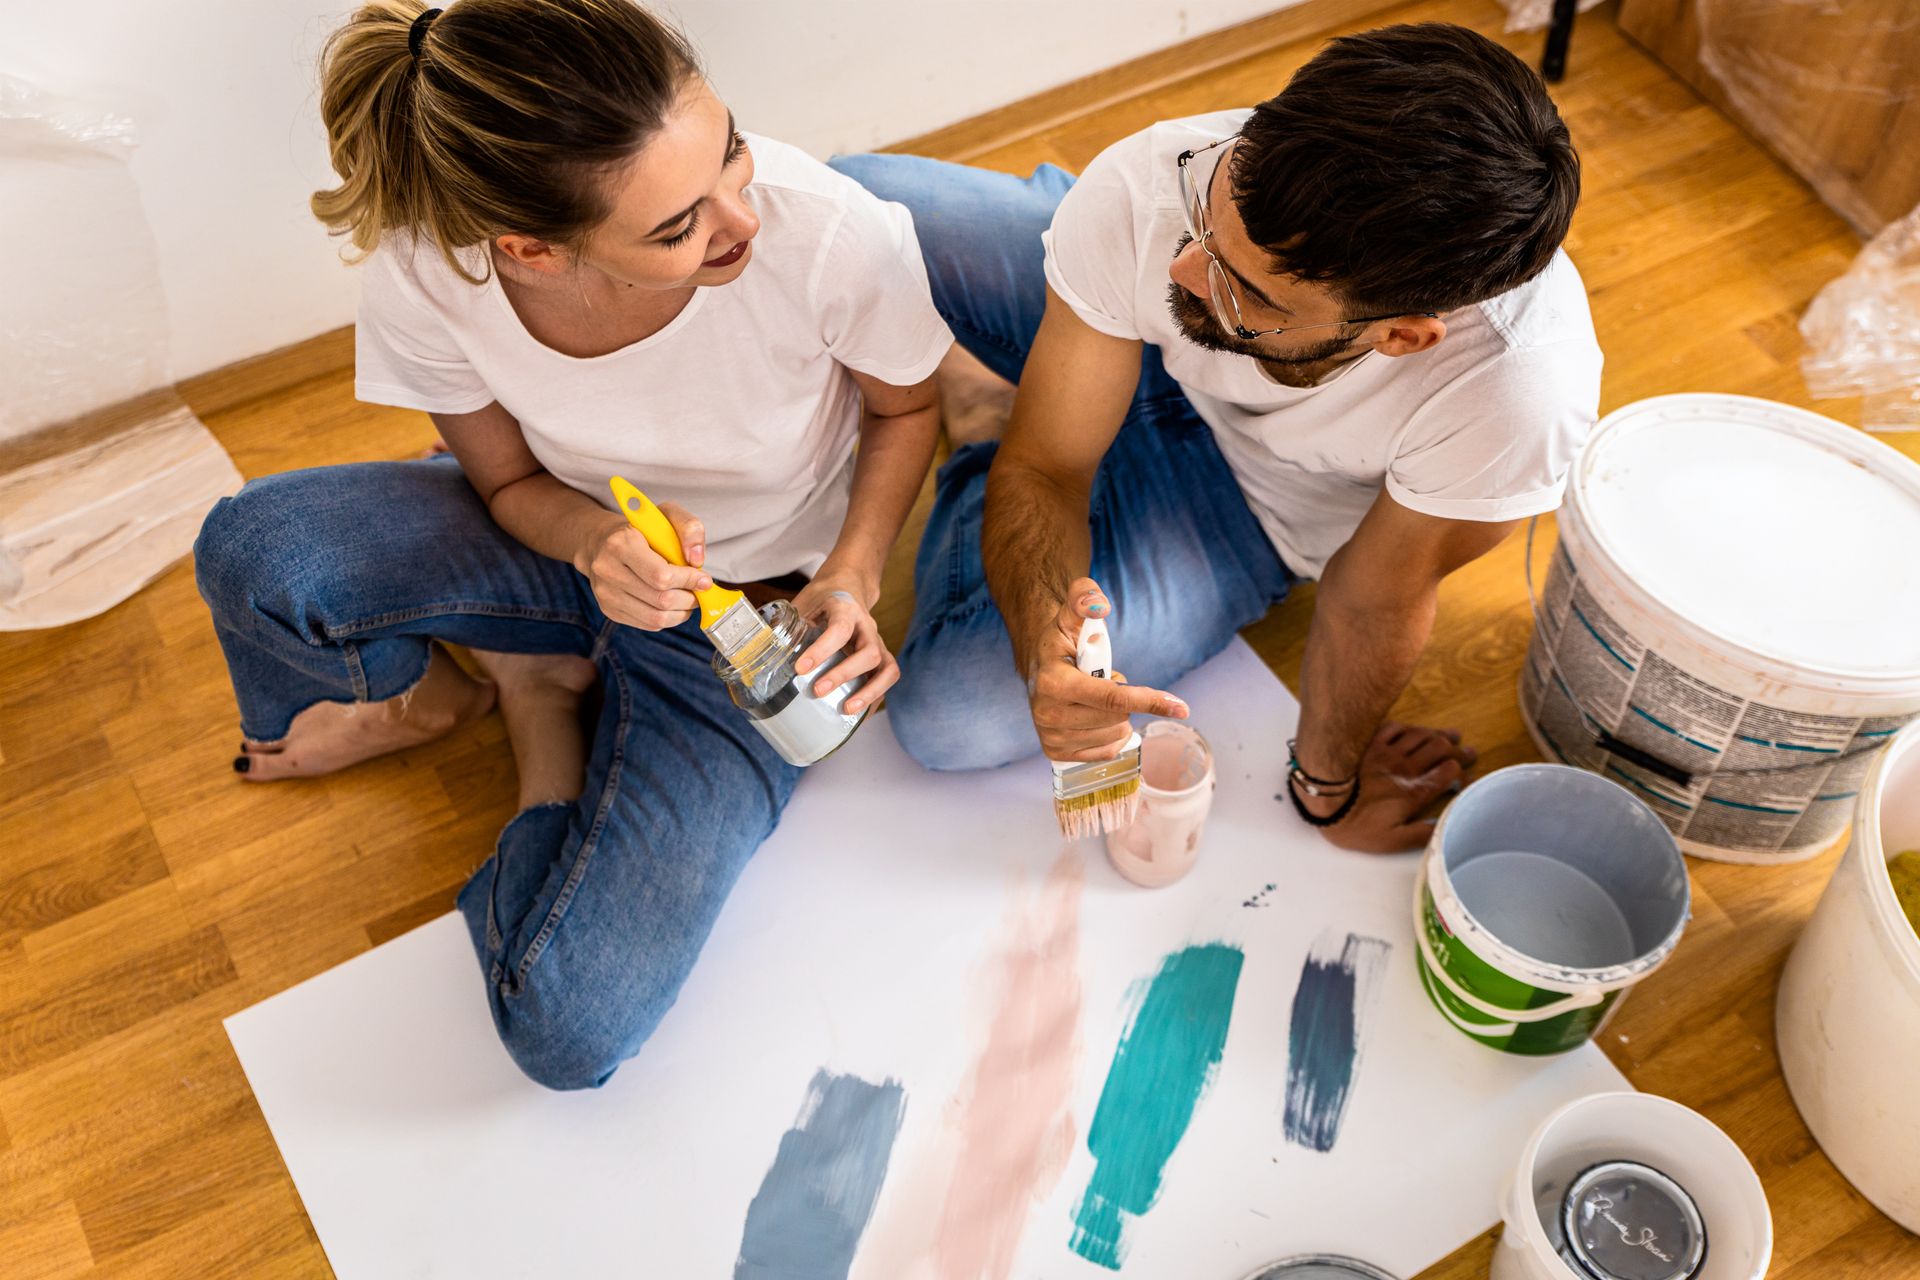
10. Not Testing the Paint First
Choosing a paint color can be one of the most enjoyable parts of a painting project, but it’s also one of the most important decisions you’ll make. The color you choose will set the tone for the entire space, so it’s essential to get it right. One common mistake is not testing the paint before committing to a full application.
Perform a color test by applying small samples of your chosen paint colors to the wall. This allows you to see how the color looks in the actual space, under different lighting conditions, and at different times of day. What might look perfect on a paint chip can appear very different when applied to a larger area and viewed under your home’s lighting.
Live with the color samples for a few days before making your final decision. This gives you time to observe how the color interacts with the other elements in the room, such as furniture, flooring, and natural light. Testing the paint first ensures that you’re fully confident in your choice and avoids the disappointment of discovering that the color isn’t quite right after you’ve painted the entire room. For an in depth look at choosing paint colors read our blog here .
Achieving a Flawless Finish
Painting is a task that can dramatically transform your home, but it’s also one that requires careful planning and attention to detail. By avoiding these common painting mistakes—skipping prep work, neglecting to clean walls, using the wrong tools, and more—you can ensure a flawless finish that enhances your space and stands the test of time.
Whether you’re painting a single accent wall or refreshing your entire home, taking the time to do it right will pay off in the end. Happy painting!