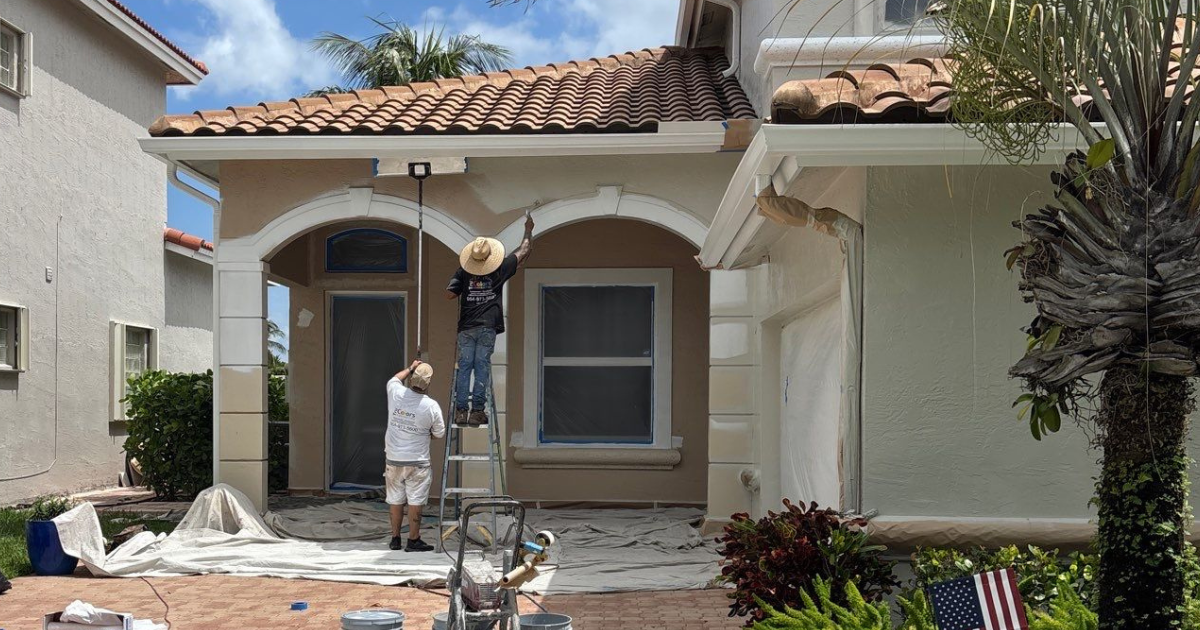
Your home’s exterior paint is its first line of defense against South Florida’s harsh climate. From intense UV exposure and heavy rain to humidity, salt air, and mildew, exterior surfaces are constantly under attack. While choosing a high-quality paint is important, the long-term success of an exterior painting project depends on something many homeowners never see—the preparation work.
At Tru Colors Contracting, we believe that exceptional results begin before the first coat of paint is applied. Proper exterior painting preparation creates the foundation for a finish that looks better, lasts longer, and better protects your home.
In this guide, we’ll walk you through the essential steps involved in preparing a house for exterior painting and explain why cutting corners during this stage often leads to peeling, blistering, and premature paint failure.
Why Exterior Painting Preparation Matters
Many homeowners focus on the finished appearance of a freshly painted home, but what determines how long that paint lasts is everything that happens beforehand.
Proper exterior paint prep helps:
- Improve paint adhesion
- Extend the life of the paint system
- Prevent peeling and blistering
- Seal out moisture
- Protect against mold and mildew
- Deliver a smoother, more professional finish
- Reduce maintenance and repainting costs
Without proper preparation, even the highest-quality exterior paint may begin to fail years earlier than expected.
Step 1: A Thorough Exterior Inspection
Every successful painting project starts with a detailed inspection.
Before any cleaning or repairs begin, we evaluate the condition of your home’s exterior to identify issues that could affect the new coating.
During our inspection, we look for:
- Peeling or flaking paint
- Cracked or damaged stucco
- Water intrusion
- Mold or mildew growth
- Chalking or oxidation
- Rust stains
- Loose caulking
- Wood deterioration
- UV damage
- Areas requiring repairs
This allows us to develop a preparation plan tailored to your home’s specific needs rather than using a one-size-fits-all approach.
Step 2: Pressure Washing the Exterior
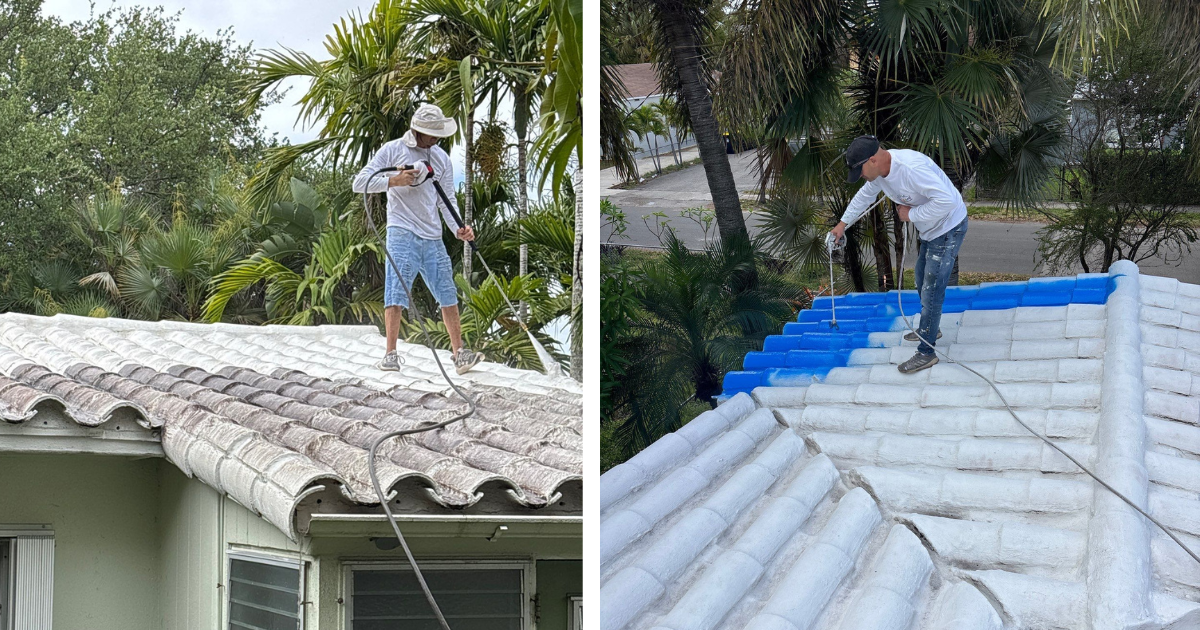
Pressure washing is one of the most important parts of exterior painting preparation.
Over time, exterior surfaces collect:
- Dirt
- Dust
- Mold
- Mildew
- Algae
- Pollen
- Salt deposits
- Chalky residue from old paint
Painting over these contaminants prevents proper adhesion and can significantly shorten the lifespan of the new finish.
Professional pressure washing removes these contaminants and creates a clean surface ready for repairs and primer.
Depending on the surface, softer washing techniques may also be used to safely clean delicate materials without causing damage.
Step 3: Mildew and Organic Growth Removal
Florida’s warm, humid climate creates ideal conditions for mildew, algae, and mold to grow on exterior walls.
Simply painting over mildew doesn’t solve the problem.
In fact, mildew trapped beneath paint can continue growing and eventually cause staining or coating failure.
Proper preparation includes treating affected areas with appropriate cleaning solutions to eliminate organic growth before painting begins.
Removing mildew helps ensure a healthier surface and improves the long-term performance of the paint system.
Step 4: Repairing Stucco and Surface Damage
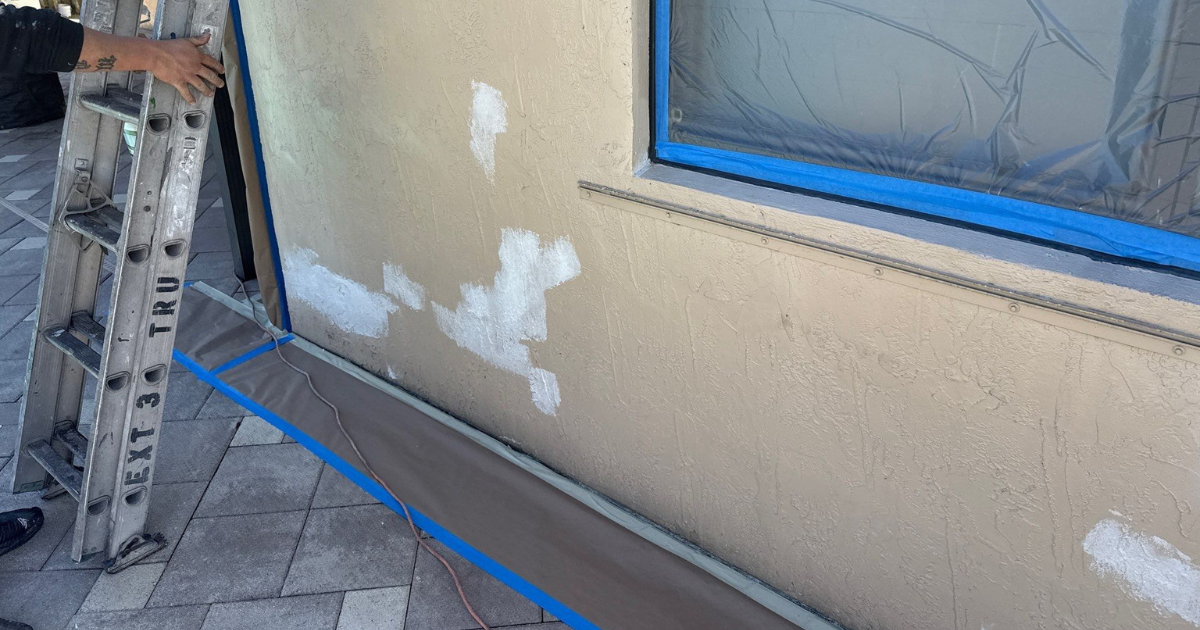
One of the biggest mistakes homeowners make is painting over damaged stucco.
Cracks may seem cosmetic, but they can allow moisture to penetrate behind the coating, leading to larger problems over time.
Depending on the condition of the surface, repairs may include:
- Filling hairline cracks
- Repairing damaged stucco
- Patching holes
- Replacing loose materials
- Addressing surface imperfections
These repairs create a smooth, stable surface while helping protect your home from future moisture intrusion.
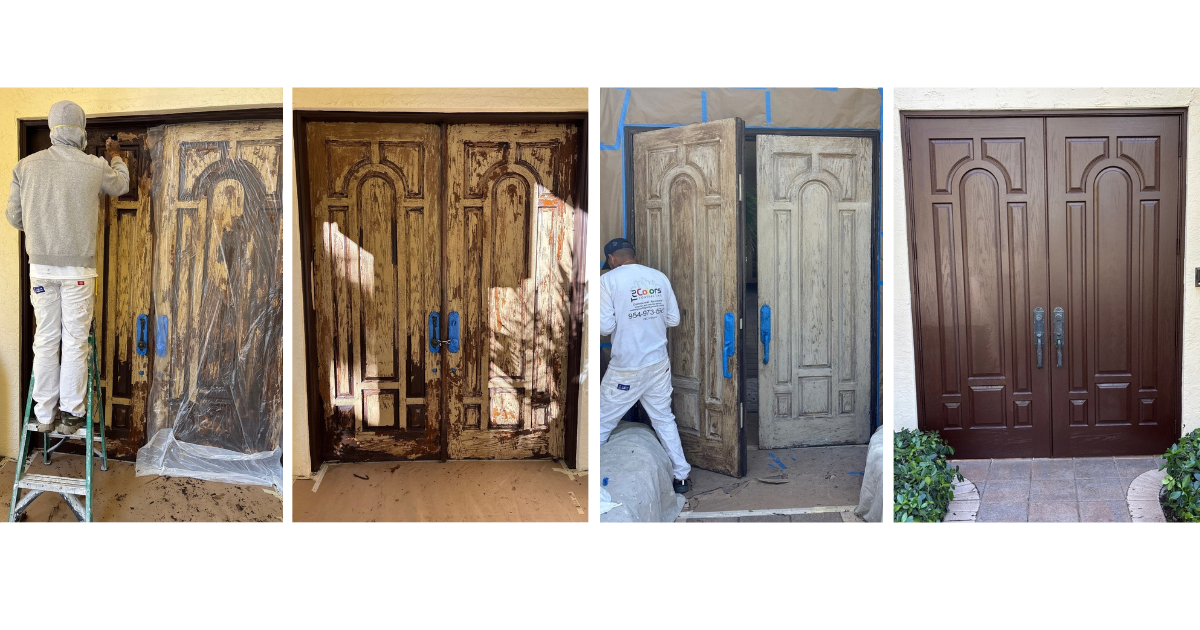
Step 5: Removing Loose or Peeling Paint
Fresh paint should never be applied over loose or failing paint.
If the existing coating is peeling, blistering, or flaking, those areas must be properly prepared before repainting.
Preparation may involve:
- Scraping loose paint
- Feather sanding edges
- Removing unstable coatings
- Spot repairs where necessary
This creates a uniform surface and prevents the new coating from failing along with the old one.
Step 6: Caulking Gaps and Sealing Joints
Caulking is often overlooked, but it plays a critical role in protecting your home.
Over time, sealants around windows, doors, trim, and expansion joints can crack or separate.
Before painting, these areas should be inspected and recaulked where necessary.
Proper caulking helps:
- Prevent water intrusion
- Improve energy efficiency
- Reduce drafts
- Create clean paint lines
- Improve the overall appearance of the finished project
Using high-quality exterior sealants also helps the paint system perform better over time.
Step 7: Sanding for Better Adhesion
Not every surface requires extensive sanding, but it’s an important step in many exterior painting projects.
Sanding helps:
- Smooth rough surfaces
- Feather repaired areas
- Remove loose paint edges
- Improve primer adhesion
- Create a more uniform finish
Proper sanding ensures that repaired sections blend seamlessly with surrounding surfaces once painted.
Step 8: Applying the Right Primer
Primer is much more than a base coat.
It creates a strong bond between the prepared surface and the finish coats while helping seal porous materials and improve durability.
Different surfaces require different primers.
Depending on the project, primers may be selected for:
Using the correct primer helps improve adhesion, enhance coverage, and extend the life of the exterior paint system.
Step 9: Protecting Your Property
Professional exterior painting isn’t just about preparing the walls.
Your landscaping and surrounding property also need protection throughout the project.
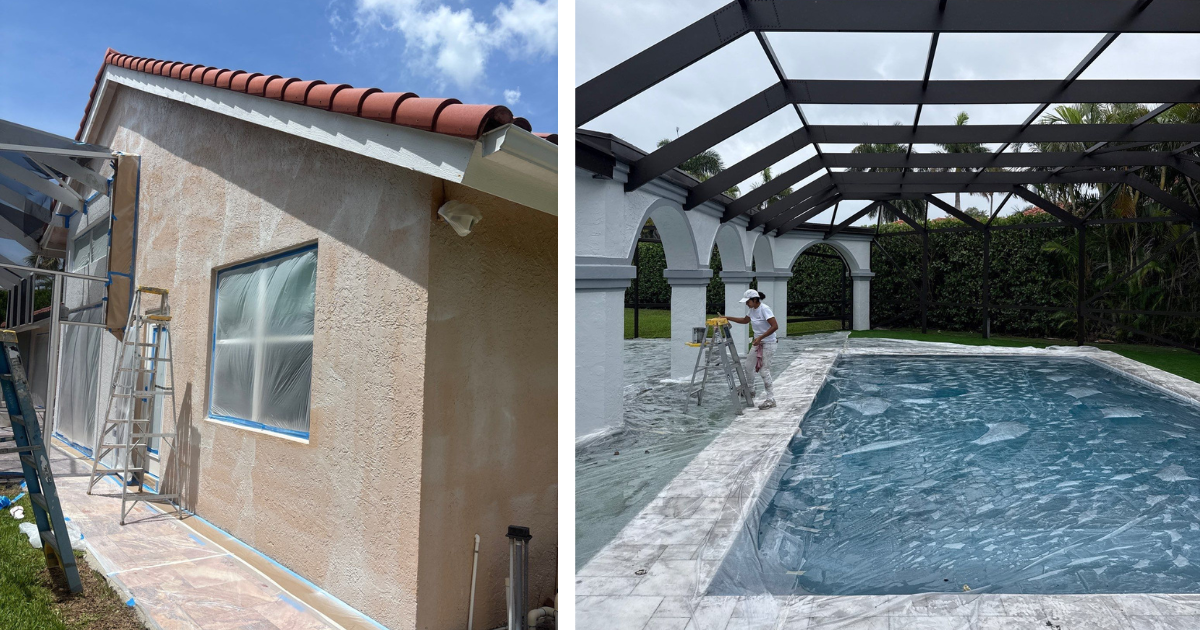
Before painting begins, we take steps to protect:
- Plants
- Shrubs
- Trees
- Walkways
- Driveways
- Roofs
- Windows
- Outdoor lighting
- Pool areas
- Outdoor furniture
Careful masking and protection help ensure only the intended surfaces receive paint while minimizing cleanup afterward.
Step 10: Choosing the Right Weather Conditions
Weather plays a significant role in exterior painting.
South Florida’s climate can change quickly, and temperature, humidity, rain, and direct sunlight all affect how coatings cure.
Professional painters carefully monitor weather conditions before and during the project to help ensure:
- Proper drying times
- Strong adhesion
- Consistent finish quality
- Reduced risk of moisture-related issues
Painting under the wrong conditions can compromise even the best preparation work.
Why Every Exterior Surface Requires a Different Approach
No two homes are exactly alike.
Preparation varies depending on the materials being painted.
For example:
Stucco
May require crack repairs, elastomeric-compatible primers, and extensive cleaning.
Wood Siding
May require sanding, moisture evaluation, repairs, and stain-blocking primers.
Metal Surfaces
Often require rust removal, oxidation treatment, and specialty bonding primers.
Concrete or Masonry
May require cleaning, crack repair, moisture evaluation, and masonry primers.
A professional contractor evaluates each surface individually to determine the appropriate preparation methods.
Common Signs Your Home Needs More Than Just New Paint
Sometimes a home needs more than a fresh coat of paint.
Preparation becomes especially important if you notice:
- Peeling paint
- Bubbling
- Blistering
- Chalky residue
- Cracked stucco
- Mildew stains
- Rust streaks
- Water stains
- Fading
- Caulk pulling away from windows and doors
These issues often indicate underlying problems that should be addressed before repainting.
Why Proper Prep Saves Money
Some painting estimates appear less expensive because they minimize preparation work.
While this can lower the upfront price, it often results in:
- Earlier repainting
- More maintenance
- Coating failures
- Moisture damage
- Additional repair costs
Investing in proper exterior paint prep helps maximize the lifespan of your paint system and protects one of your biggest investments—your home.
Why Choose Tru Colors Contracting for Exterior Painting?
At Tru Colors Contracting, we understand that outstanding exterior painting starts long before the first coat of paint is applied.
Our team follows a proven preparation process that includes detailed inspections, professional cleaning, surface repairs, caulking, sanding, priming, and property protection to help ensure long-lasting results. Every project is tailored to the specific needs of your home’s exterior, giving you a finish that’s designed to withstand South Florida’s demanding climate.
Whether your home is located in Fort Lauderdale, Boca Raton, Coral Springs, Parkland, Delray Beach, West Palm Beach, Jupiter, Stuart, Port St. Lucie, Miami, or anywhere throughout Broward, Palm Beach, Martin, St. Lucie, or Miami-Dade County, we’re committed to delivering craftsmanship that lasts.
If you’re planning an exterior painting project, contact Tru Colors Contracting today to schedule your consultation and experience the difference that proper preparation makes.
